Is it just me, or does Pinterest make everyone want to spray paint stuff? I have a habit of buying vintage mirrors that I don't really need and was stoked when I found out that you can easily turn mirrors into chalkboards!
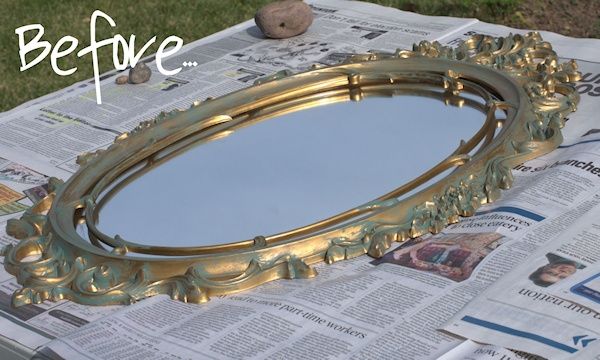
This is the mirror that I started with. It was pretty, but not really my style. The frame is plastic, so I thought it would be perfect for a makeover. Also, the back easily unscrewed. I prefer to take frames apart instead of taping them off if I can. It saves me a lot of time and the trouble of doing touch-ups.
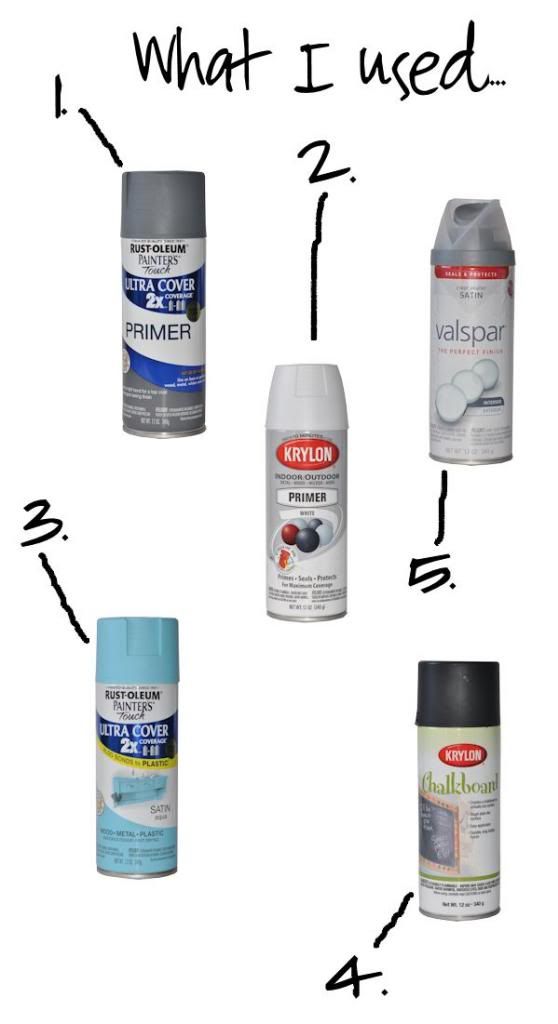
1. Rustoleum Gray Primer
2. Krylon White Primer
3. Rustoleum Painter's Touch in Aqua Satin
4. Krylon Chalkboard Paint
5. Valspar Satin Finish
6. Fine sandpaper (not shown)
I bought everything but the Chalkboard Paint at Ace Hardware. The Chalkboard Paint was purchased at Walmart.
After I disassembled my mirror, I thoroughly cleaned and dried the mirror and frame. Next, I roughed up the surface of the mirror glass with sandpaper so the paint would adhere.
Make sure you do all your spray painting outside. It gets everywhere! Also, wind is not your friend.
I prime everything. It keeps me from doing too many coats of the "real" paint and I can get object-specific primer if I need too. The instructions didn't say to, but I highly recommend priming the mirror glass before you do your painting. I used the gray primer for the mirror and the white primer for the frame.
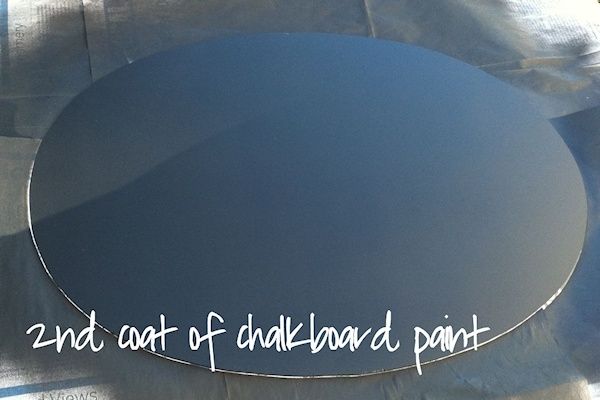
After the primer dried, I applied the chalkboard paint. Make sure you read the directions on your Chalkboard spray paint can. I had to shake the can for a full 2 minutes and spray the coats on a little differently than I'm used to. My glass ended up needing 3 coats. After the 2nd coat, I thought I was done. Then, my 9 year old niece remarked that the chalkboard was "sparkly" and I knew another coat was in order. So, pay better attention than I did!
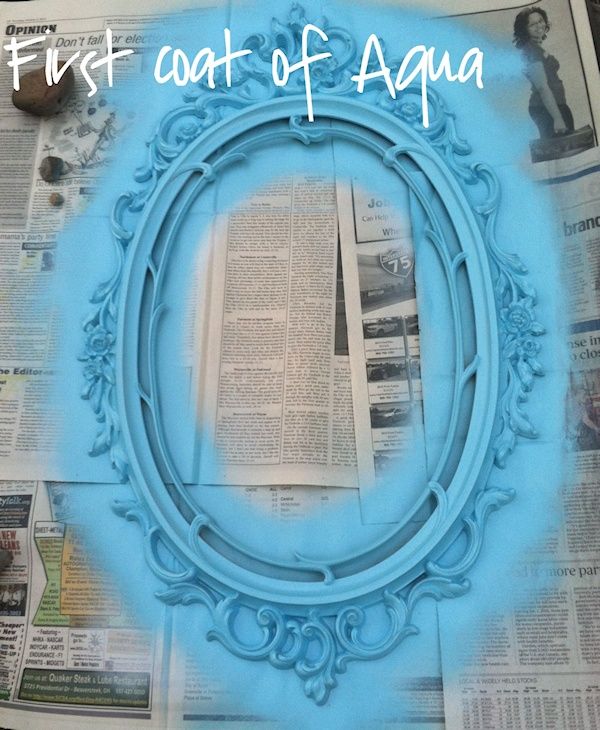
My frame took 2 coats of aqua paint after priming and I finished it with a coat of satin clear finish. Don't use any kind of finishing spray on the chalkboard paint!
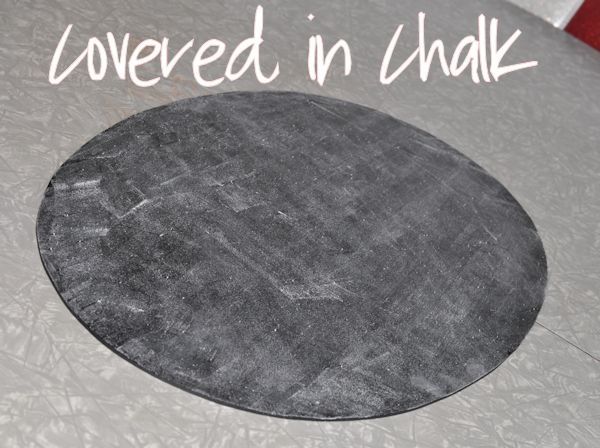
The instructions on my chalkboard paint said to wait 24 hours after the paint was dry to use the chalkboard. It also said to coat the entire surface with chalk after the 24 hour dry time and erase before initial use to keep the first thing you write from lingering.
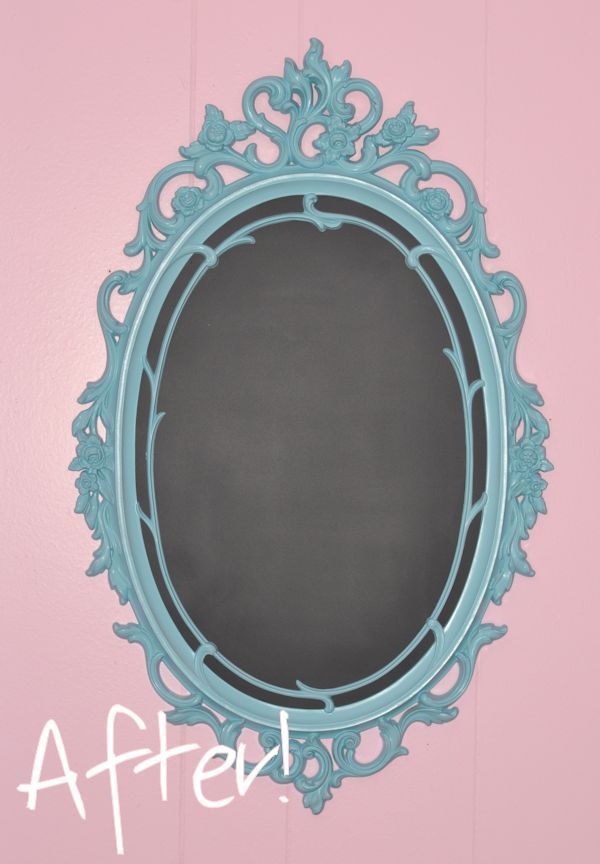
The final step is putting everything back together and hanging the chalkboard! Ta-da!

I tried to write a pretty message for you guys. Turns out, I need some chalkboard writing practice. It was not pretty! I did write a quick to-do list on my chalkboard today and I am LOVING IT!


Hi Kate, I stumbled upon your blog and am loving it! This mirror to chalkboard tutorial is amazing. Love this idea, it looks fantastic and is useful. I totally want to try it, thanks for sharing! :)
ReplyDelete